Search This Blog

Welcome to my blog

Thursday 23 June 2011

Froth and Spoon

After such an inspirational week, I had an urge when I got in from work this evening to create a new drawing. All week I have been working with children getting them to concentrate on their mark making and explore the mediums they have been given to their full potential. I thought "Why am I not doing this in my practice". I am desperate to get my acrylics out and start creating some colour theory canvases, but feel I have not quite finished with oil pastels. As I have mentioned before I love the quality of the mark, the subtle blending and the strong colours in oil pastels. But how far can I push this medium?
A few weeks ago I visited an English Heritage building with my husband. The first thing we do when we arrive is grab a coffee and cake (my God doesn't that make us sound old!). On this visit once I had stirred my coffee I was intrigued by the marks left on the spoon and took a photo - commenting that I would attack this as a painting in the near future. Well today was the day. Normally I layer a maximum of two colours when using oils as often it can lead to a smudgy nasty colour if you use more, I can be quite heavy handed with my medium as I like to feel the marks being made - for this piece I used my normal technique for the plate, the table and parts of the spoon but for the froth and highlights; in some areas I have `gently` layered up to four colour. I have found that this have allowed me to create great depth and contrast and well as interesting textures. Maybe the acrylics will have to wait a while.
I see this picture as almost a self portrait of my husband and myself - I will leave it up to you to decide who the spoon is and who the froth is!
Froth and Spoon
A close up showing the different colours used

Can you tell what it is yet?

I have had an amazing week at local school in Basildon working on a large project as part of the schools art week. The project is not quite finished yet, there are a few finishing touches to be made, however I wanted to share the children's brilliant work with you all.
The aim of the project was to encourage all the pupils in the school to embrace art and craft ideas, techniques and methods for the duration of the school week. The theme that we looked at for the art week was "Me, Myself and I".
Prior to the art week I visited the school and carried out a training session with teachers on how to draw a portrait - working out measuring systems to teach the pupils how to draw a portrait to scale. Once the pupils had practiced this the teachers encouraged them to create a piece of work where they drew half their face to the best of their ability and the other half using images that represented their favourite things. Some pupils collaged these, some drew images, some stuck objects and craft materials onto their drawing  - using these objects and collage materials to represent the facial features. I will post a couple of these pictures when they have been completed.
The project I worked on with the pupils involved a learning about using a paint brush, mixing colour, ratios of paint to use, exploration of marks, using modroc as a sculpture material and being confident in their own unique talent.
 For the first part of the sculptureeach pupil was given a circle form with a hole in the centre and covered this with newspaper - this would provide a base for our modroc to adhere to.
 Once the circle was covered in newspaper, it was time to get good and messy covering the circle with modroc. I was impressed with how well all pupils from year 3 - to year 6 managed to smooth the modroc and create a solid base. Once these were covered they were left for 24 hours to dry prior to painting.
 Before the pupils painted their circular sculpture we practiced some brush work, looking at what marks we could make using the brush, holding it in various positions. Pupils learnt that they could create fluid lines, holding the brush at the end of the handle and that they could make more controlled marks the colser they held the brush to the bristles.
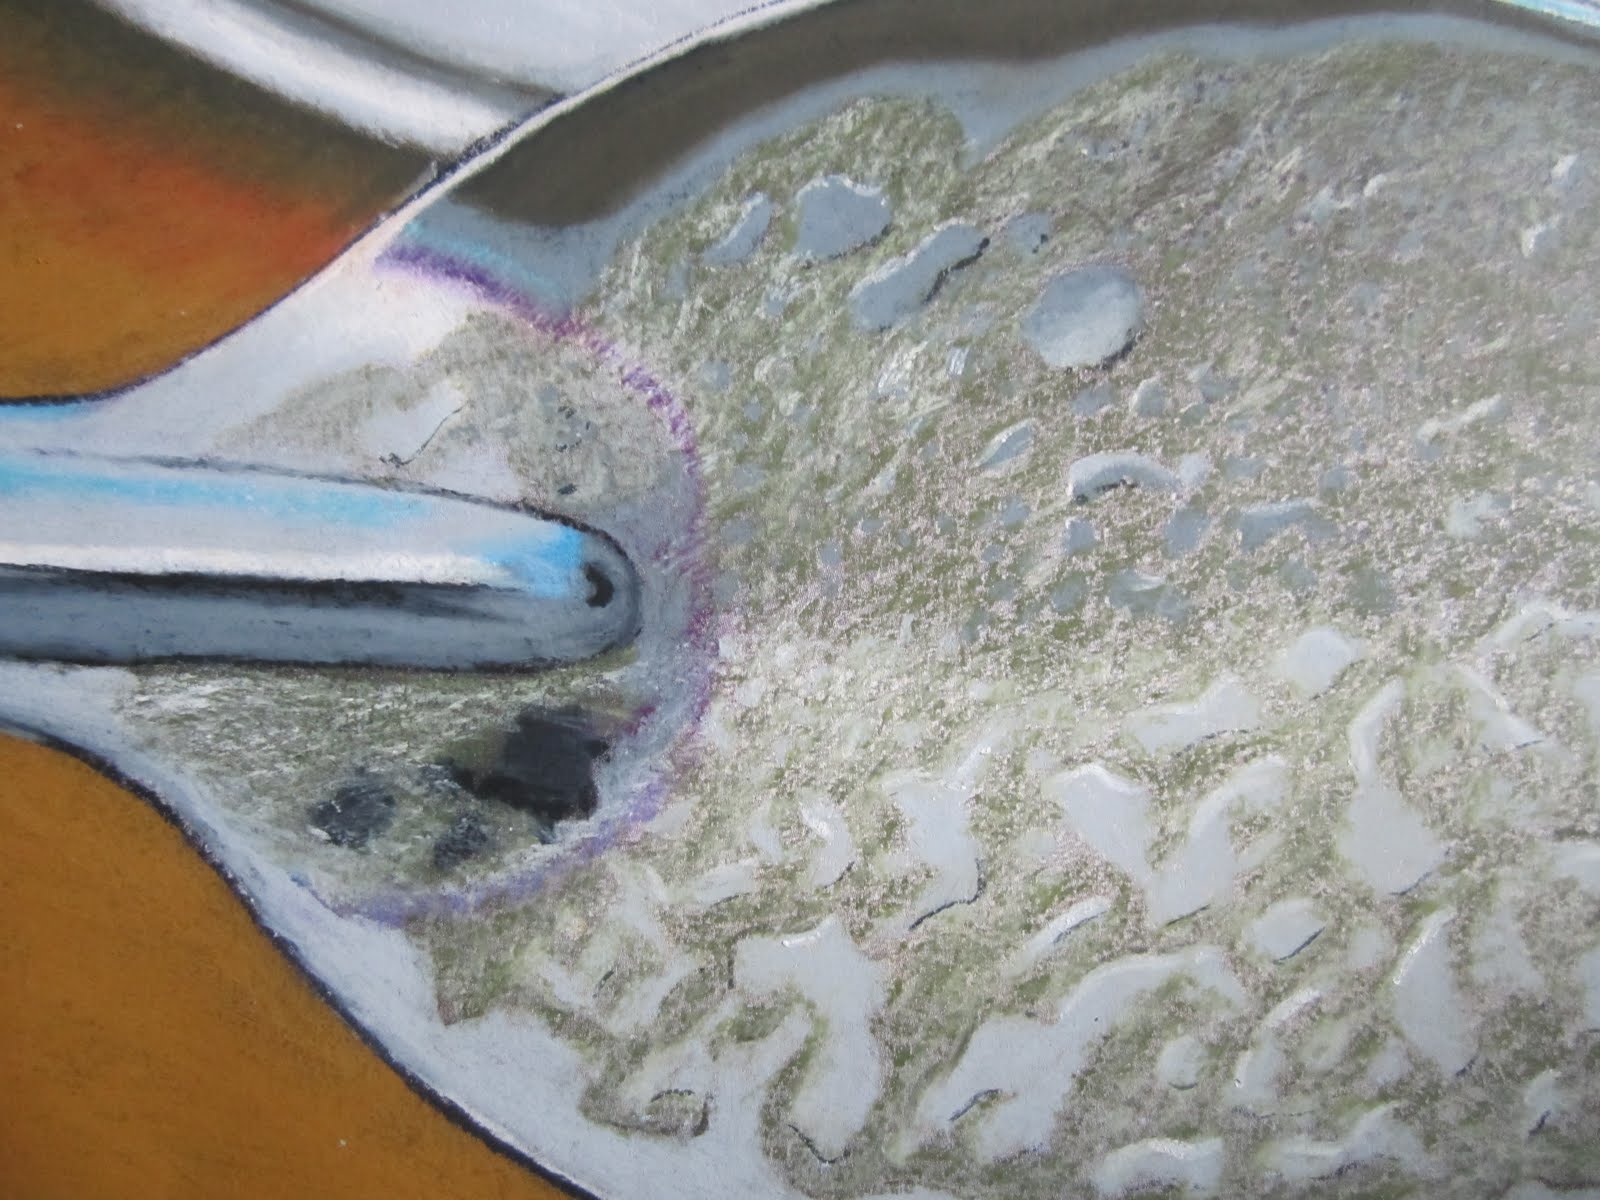
Once we had explored our mark making, we moved on to colour mixing. Each pupil painted a positive image using black powder paint. Pupils then chose a primary colour and it's complementary colour i.e. red and green, yellow and purple or blue and orange. Using powder paint the pupils were challenged to mix as many different shades and tones of the two colours as they could and paint in each of the sections created in the pictures negative space. A fantastic example of this is pictured above. The pupils really enjoyed colour mixing and learning how to use powder paint as a medium. Learning that they could mix strong tonal colours by adding more powder and lighter shades by adding more water to the mixture.
 Finally we got around to painting our circle sculpture. For this part we changed medium to acrylic paint. Once we all had our aprons on, the children painted their circle in their own design which they had previously planned out in their sketchbooks.
 The pupils painted a base colour - or mixture of colours onto their circle before adding areas of decorations, patterns, names and marks
 Pictured below are a selection of the finished circles. Don't they look amazing?
It always intrigues me when I am working with children (and adults come to think of it), how despite everyone being given the same instructions, same mediums, same materials not one object looks like another. I think these circle represent the pupils very well, showing that we are all different, all unique, all have our different talents and are all beautiful.
So can you tell what we are making? Have a guess and let me know. When the work has all been completed I will post a picture on my blog.
Thanks for reading

Monday 20 June 2011

Norwegian Sunset

Just finished this drawing using oil pastels of a gorgeous Norwegian sunset we watched whilst on holiday last December. I would normally use chalk pastels for a sunset as they are easier to blend with and found this was a real challenge. I don't think I have quite captured the slight movement of the water and the depth of colours in the sunset. I think it may be time to start getting the paint brushes out and creating some movement on canvas. As much as I enjoy working with Oil pastels, I also feel restricted by the limited colour palette available that cannot compete with the range of shades, tints and tones that can be mixed with paint.

Chainsaws, glass, paint, coins and Elmo

The title of this blog lists my favourite things about the Sculpture and Art fair I attended with my Husband at Hylands Park in Chelmsford, this Sunday. The main attraction at the fair was the chainsaw carving competition - England versus Germany! Over the course of the weekend the craftsmen carved their masterpieces out of large chunks of wood creating stunning sculptures. The highlight for most people was when the 12 carvers all participated in a speed carving competition in the central arena. It is amazing what these talented individuals made in just 30 seconds. All of the sculptures were auctioned off at the end of the day - I wish I had been able to afford to purchase one of these original and exquisite piece of art.
A stunning Eagle sculpture carved using a chainsaw
 Work in progress
 One of Simon Hedgers Celtic creations check out his website http://www.simonhedger.com/

 A German landscape
 One of my favorite pieces of the day, a stunning story time chair. This would have looked so nice in my back garden. Unfortunately I did not find out the name of the person that carved this.
 I was really pleased to find a Bob Ross workshop at the fair. Although he may not be everyones cup of tea and some people frown on the teaching methods of the late Mr Ross's accessible painting style (you may have seen one of his famous TV shows - The Joy of Painting?), I think these workshops are a fantastic method of building up confidence in amateur painters. Led by a qualified Bob Ross instructor these workshops teach budding new artists how to mix paint, apply paint to the canvas, what tool to use for what job, how to use thick and thin paint and how to build an interesting composition. There is not a lot of freedom in these session to use your own ideas, colours and imaginations but once you have the technique mastered - the world is yours!!! For more information on Bob Ross have a look on the website http://www.bobross.com/
 A classic Bob Ross style painting
 E & M Glassblowing studios provided not only a collection of beautiful and very technical pieces of glass work for exhibition and sale - but also a demonstration on glass blowing. Ed and Margaret Burke started their business in the 1980's and now sell their work all over the world. I really liked the presentation of their demonstration, which was performed by their son. With a large screen above the demonstration space, they discussed the history of glass making, techniques, their successes and then used the screen to project the actual glass blowing demonstration for all the viewers to see clearly. For more images of their amazing and beautiful glass work have a look on their website http://www.emglass.co.uk/

 This craftsman created stunning pieces of jewellery using old coins. Images were meticulously cut out of the coins using a very simple saw which can be seen clearer in the image below. Some of the coins were covered in enamel to add a touch of elegance to objects that we have rattling around in our pockets everyday.

 Michelle Eve creates these spectacular pieces of jewellery using beads, polymer clay and jewellery fixtures. As those of you that have followed my blog will know I am a huge Alice in Wonderland fan and have been creating come papercraft images based on Alice in my sketchbook. I really enjoyed the fun element that Michelle puts into her work and the high level of detail. Each piece can take up to 6 hours to produce and all are handmade. Michelle's stall was filled with scrumptious Bertie Bassets shapes earring, bourbon biscuits, gummy bear, jammy dodgers the list goes on. If you like something out of the ordinary or are looking for an unusual gift I urge you to look at Michelle's website http://www.hmbm.co.uk/
However I could not resist buying these brilliant Elmo earrings!!!

These pictures just represent a small selection of the amazing craft and art that was on display at Hylands Park. Hylands Park is also the home of the Stable Visitor Centre where a group of resident artists are supported by Chelmsford Borough Council. The studios are open to the public Sundays and Mondays 10am-5pm. Artists based at the studios include Andrea Neale, Jane Davey, Lynne Sharpe, James Wilkinson and Mona Marnell.
Hylands park is open everyday from 7:30am and boasts 574 acres of park lands which includes a recreational ancient woodland, grassland, lakes, pond and gardens. For more information have a look on http://www.livingheritagecontemporarycrafts.co.uk/

Sunday 12 June 2011

Keep up the fight

As an artist I am influenced by many different things, everyday situations, colours in the sunlight, a song on the radio, other artists etc etc. However one of my main influences has to be my amazing family. Today, in the pouring rain, my mother, sister and nieces took part in the race for life along with an additional 4000 people. "What is so amazing about that?" I hear you ask.
My sister was diagnosed with Breast Cancer a year ago and has had to undergo a year of treatment including an operation, chemo therapy, radio therapy and a lot of discomfort. My mother is battling her 3rd (yes that was not a typo) her 3rd cancer - Mouth cancer having already beaten cervical and breast cancer. My mum has had to endure a series of intense operations that have included breaking her jaw, inserting metal plates, removing parts of her tongue and leaving her in a lot of discomfort and unable to eat properly.
Both my Sister and Mother have such strength and positive attitudes, it must be unbearable for them some days but they always carry themselves with such grace and courage, I am so proud of both of them.
 I have tried to portray how in awe I am other both my sister and mother's strength they have shown not just for themselves but for their family throughout their battle in the art work pictured below. I also wanted to create something that shows the strength, courage and community spirit that is in abundance on days such as the Race for Life - to honour all who take part.
The pictures below show a canvas that was made by taking rubbings of the runners/walkers trainer soles and gluing them in the shape of the ribbon sign. Around the outside of the ribbon participants wrote messages for loved ones that are battling cancer and loved ones that have sadly departed this world. Some people wanted to write messages of hope for cures. Others noted bravery and thanks for support given. In fact I was amazed at how many people have been affected and touched by someone who is battling or unfortunately lost the battle of cancer. Some people were writing messages for 4-5 people. We had so many people wanting to write messages we had to continue into a book as you can see from the picture below, the canvas was filled up in no time.
 
 My niece writing her comments on the canvas
 The completed canvas
 In addition to the canvas above I have created some paper collages using a range of paper engineering techniques that discuss the personal battles my mother and sister have fought as well as investigating the medium of paper and technique of frottage. 
 3 Cancers. In this piece I have used pieces of the three cancers my mother has had (be it pictures of the actual cancer sourced for the Internet or pictures taken directly after my mothers surgery). The cancer cells are extremely beautiful under a microscope and have amazing shape and line to them which I find quite ironic for something that is so destructive and deadly. The paper craft techniques include iris folding, collage and star bursts.
 Mums arm after surgery - A drawing of my mothers arm after an operation that included taking a a lump of skin from my mums arm to rebuild her tongue. The orange background was a rubbing taken from inside the hospital and the green shapes and rubbings from objects that represent all of my mothers children and grandchildren. Once again I have tried to concentrate on the aesthetic beauty juxtaposed to cancers brutality.
 Mums Collage
 Nicks Collage
 Haircut - in this piece I have used a papercraft cage to disguise an image of my sister having her head shaved during her chemo. This was a very emotional day for my sister and once again, I was overwhelmed by how brave she was and how she was more concerned about me than herself. I have used frottage to create images of cancer cells taken for textured surfaces around our houses. The papercage is not used to hide my sister but to encourage the viewer to take a closer look, to look beyond the haircut and see the person inside.
My amazing Mother and Sister
I really hope that days like today continue to emphasise how important it is to support research, to support our hospitals, our nurses, surgeons and amazing Macmillan nurses to find a cure for cancer, new medications and treatments that ease the suffering and pain cancer patients have to endure.
If you have not already donated to this cause please donate anything you can to http://www.cancerresearchuk.org/ every penny really does help.

Wednesday 8 June 2011

Brandenburg Gate

In preparation for the Basildon Art Trail September 2011, I have been working on a series of drawings based on places I have visited. I have chosen to use pastels -  mainly oil pastels - as the medium for the drawings. I love the quality and marks that can be made with crayons and pastels, the lush colours, subtle blending and powerful contrasts.
In March my husband and I went to Berlin and visited the Brandenburg gate. I was inspired by the architecture and wanted to capture the mood and magnificence of the gate and atmosphere of the day in my drawing. As you can see I have used some artistic licence with my drawing `editing` the picture, removing all the buildings behind the gate and a few of the passerby's. This allows me to concentrate on capturing the form and line of in the architecture; playing with the negative space and using the signs and posts to lead the viewer around the picture. I enjoyed creating this drawing and hope that you find it interesting.
 Brandenburg Gate 2011, Oil Pastel
Photo of the Brandenburg Gate